And so the search starts for foods that you can tolerate without the pain that follows. So below please find one of the easiest recipes I've found for a gluten-free, dairy-free double layer chocolate cake! It is a crowd pleaser. Many times people refuse to try gluten-free, dairy-free, or meat-free options because they "know" they wont like it. So why not serve this cake to those people and see if they can tell the difference!
Double Layer Chocolate Cake (Gluten-Free, Dairy-Free)

Cake -
Pamela's Chocolate Cake Mix
Oil
2 Eggs
Water
Frosting -
Unsweetened Coconut Milk (Do NOT Use Light Version)
Enjoy Life Dairy-Free Chocolate Chunks
1. The cake takes a little bit of forethought. The day before making the cake put the cans of coconut milk in the fridge overnight to chill them so that you can work with it easier.
2. The day you want to make the cake just simply follow the instructions on the back of the Pamela's Chocolate Cake Mix. You can make cake mix from scratch but for those of us who are too busy this cake mix works just great! I did use 2 eggs instead of 1 in order to make the cake more spongy instead of dense. The package calls for 1 but I used 2 and was very happy with the consistency. I used two 8 inch round cake pans and split the mix into two batches to make even layers. The instructions on the back of this package suggest baking two 8 inch round cakes 22-28 minutes. I baked them for 22 minutes and the cake came out perfect.

If I had baked it anymore the cake would have been way too dry. Cook the cake less and check it. You can always cook it more if needed. After the cake was finished baking I put them on cooking racks and let them sit for a few hours. I didn't want the frosting to melt when I frosted the cake.

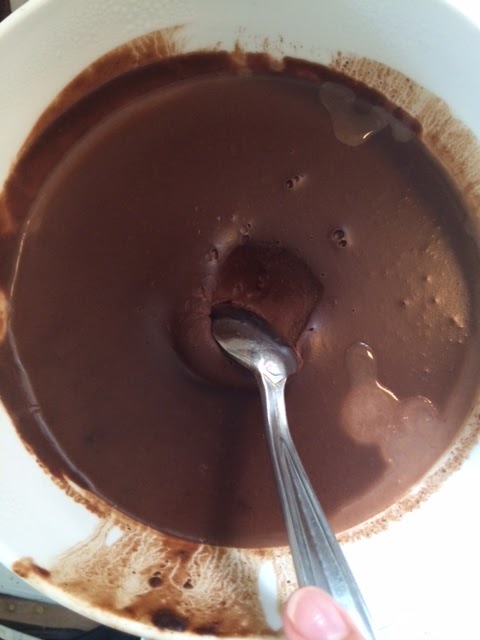
3. Now that the cake is done and set aside, let's focus on the frosting. This is one of the easiest and tastiest recipes for frosting that I've ever had. There are only two ingredients in this frosting recipe which makes it even easier and cheaper. The containers of frosting sold at the store pale in comparison. Take your cans of coconut milk out of the fridge and open them. Have a bowl next to you when you open the cans. When you open the cans, pour the liquid part of the coconut milk in a separate bowl. The solid part of the coconut milk is what you will use for the frosting. I got two cans but the store only had one normal can and one light. So I got one of each. But do not get the light coconut milk because it has very little solid coconut to work with. Most of the can is liquid which you cannot use for this recipe. Put the solid part of the coconut milk in a pot with your dairy-free chocolate chunks. I like to use the Enjoy Life brand. Slowly melt the two ingredients together on the stove and stir consistently to prevent burning.


4. After the two ingredients are melted together, put the warm frosting in a separate bowl in the fridge for 3 hours. The consistency of it must be firm. Don't worry it will soften up.
5. After the 3 hours, make sure that the frosting is firm. If it is use a blender and mix up the frosting. After mixing it, it will have that beautiful frosting consistency. It will be easy to spread and will be a little lighter then when it was in the fridge.

6. The next step is the fun part! Put one of your cake layer on a plate and frost the top of it.

Then put the second layer on it and frost the top of that one.


Next frost the sides. Your cake is almost done, but it already looks delicious!

7. Then decorate the cake however you want to. I used sliced almonds to accent the edge of the cake and to add a little bit of a crunch.

You have so many options for decorating. You can use macadamia nuts, sprinkles, cocoa powder sprinkled on top, fresh berries, or anything else you desire!
8. Finally I put the cake in the fridge to help set the frosting. When the frosting is applied it will be soft and so chilling the cake will help it stay on the cake properly!
I got this recipe from ohsheglows.com. I didn't believe the description that it is a dangerous recipe because of good it is. But I tried it, and YES it is a dangerously delicious recipe!

No comments:
Post a Comment